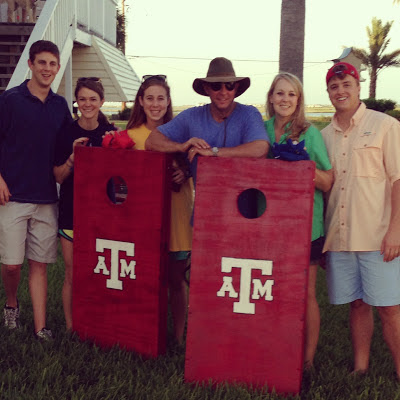
It is always hard to buy presents for men. I have always thought that. Men have it much easier... get her some flowers and jewelry and call it a day. Men- not so simple. So I was thrilled when my brother called and had the idea of building a tailgating game for my dad for Father's Day. We went back and forth between corn hole and washers and as a team, finally all decided on creating a corn hole game... from scratch.
First task was buying the supplies:
- two 24" x 48" sections of 1/2" plywood (we ended up just getting one big piece of plywood and cut it ourselves)
- four 2" x 4" x 48" for the frame (sides)
- four 2" x 4" x 21" for the frame (top and bottom ends)
- four 2" x 4" x 11-1/2" for the legs (two on each board)
Then, we decided since the most use it would get would be at the Fighting Texas Aggie Football Game Tailgates, we would put the Texas A&M symbol on it and paint it maroon. Once that was decided, all supplies and kids ended up at one place, and so began the DIY-ing...
Cutting/Assembling each of the game boards:
- Cut the plywood into specified measurements.
- Cut the 2 x 4's into specified measurements for the frames of the game boards.
- Attach the 2 x 4's to form a box, ensuring the 21" pieces are placed inside of the 48" pieces. To attach, use 1-5/8" screws.
- Repeat steps for the second game board.
Cutting/Assembling the legs: (this is where it got a little tricky... especially in the dark)
- Cut the 2 x 4's into specified measurements for each of the four legs.
- Measure 1-3/4" down the length of the 2 x 4 and mark it in the middle. Place a compass point in the center and create an arc. Use a jigsaw to make the cut you drew.
- To attach, turn the game board upside down. Place a leg in the corner, parallel to the board so that the arc is tucked into one of the top corners.
- Drill a 1/2" hole through the side of the box and through the leg.
- Install the carriage bolt through the hole, and attach it on the inside with a washer and wing nut. (We used the locking ones just to be on the safe side.)
- Repeat steps for other three legs.
While the legs were being assembled, Brooke was intensely sanding all parts of both game boards, and Katie was cooking us a delicious dinner!
Painting the Game Boards:
We had bought a can of spray paint that covered 25 sq. ft. (and much to our surprise, it wasn't enough). It covered one board fairly well and a little of the other, but we did as much as we could with what we had. To create the stencil, we had traced a Corps of Cadets trunk that had a huge "aTm" sticker on it. Then we used that stencil to create our design.
Finishing Touches:
The following day, I had purchased two more cans of maroon spray paint and a can of polyurethane (and we already had the white and black paint). I coated both boards a few more times, and also finished our aTm logo. A few coats of polyurethane later, and we had our finished product ready to give to Dad for Father's Day...
As you can imagine, he was very surprised and very excited to receive his gift. He couldn't believe that all five of us worked together to make this for him. We gave it to him Saturday night at the bay house (one day before Father's Day), and all the boys played that evening. Success!
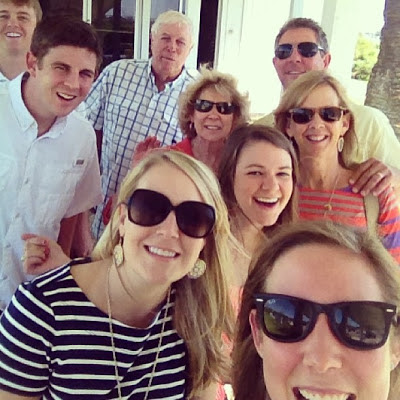
The following morning, we all went to church together as a family (probably one of my Dad's favorite things), and we took up an entire row at the West Isle Presbyterian Church in Galveston.
Happy Father's Day, Dad! I love you!!


No comments:
Post a Comment